Custom glass shower enclosures in rooms where no two walls agree
One panel only has to follow one wall. An enclosure has to close a shape, and in a period London bathroom that shape is rarely the rectangle the catalogue assumes.
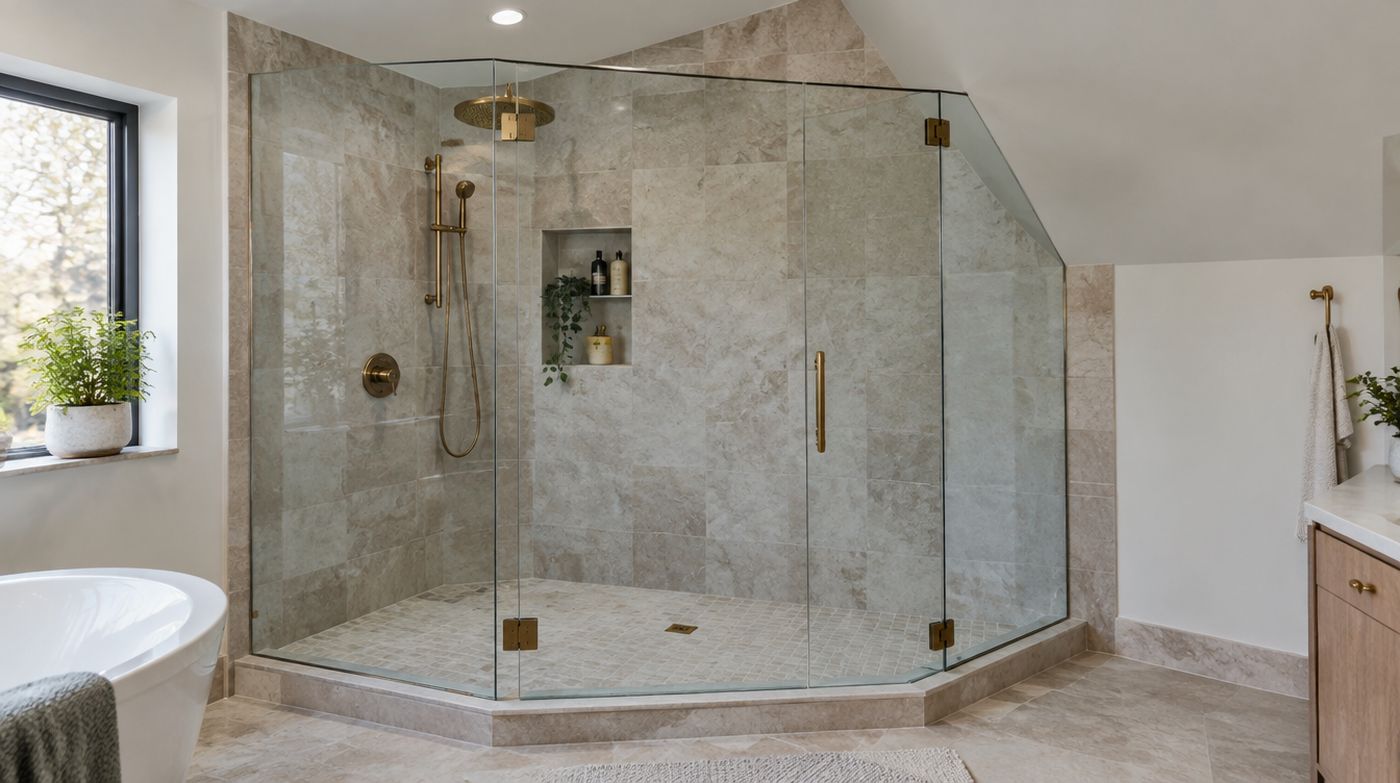
What custom glass shower enclosures have to solve that a single panel does not
Custom glass shower enclosures are a different engineering problem from a bespoke walk-in panel, and the difference is that an enclosure has to close. A single panel follows one wall and leaves the rest of the room alone. An enclosure has three or four edges meeting each other and the building, and every one of those meetings has to be watertight, square enough to take a door, and strong enough to stand up without help. In a room where the walls lean and the floor falls, the errors do not stay in their own corner. They accumulate around the enclosure and land in the last joint you close.
That accumulation is the whole job. Three panels each measured to within two millimetres can still give you an eight millimetre problem at the final corner, because the out of plumb in wall one has rotated the second panel, which has moved the post the third panel lands on. Anyone who has set out a shower in a Victorian back addition in Islington or a carved-up Edwardian flat in Kilburn knows the feeling of closing the last gap and finding the error waiting there.
Setting out: deciding where the enclosure actually sits
Before any glass is drawn, somebody has to decide what the enclosure is square to. You cannot be square to everything in a room that is not square to itself, so you choose. Usually the answer is the floor and the most visible wall, because a vertical line that leans away from a tile joint is the thing the eye catches first, and a shower tray that is out of level is the thing that leaks.
The alternative is to be square to the room’s overall geometry and let the glass stand off the walls, filling the difference with scribed edges or a shadow gap. That is often the better answer in a bad room: a true enclosure standing in a wonky space reads as deliberate, where a glass box that leans with the walls reads as badly made. The decision has to be taken consciously, at survey, with a laser on the walls, and it should be written on the drawing so you know what you approved.
Setting out also decides what you lose. Standing the enclosure square to the floor in a room with a 15mm bow costs you internal space on the bowed side. In a bathroom that is already 1.8 metres wide, 15mm is not nothing, and it is better to find that out on a drawing than when the door opening is tighter than you expected.
Corners that are not 90 degrees
Standard hardware is made for right angles. Glass to glass clamps come in 90 and 135 degree versions, channel is extruded straight, and corner posts assume the two panels meet at a quarter turn. The moment the walls meet at 86 or 97 degrees, which they routinely do in houses built before anyone used a laser, that hardware stops being an option and the corner has to be made rather than bought.
There are three honest ways to deal with it. You can set the enclosure square and lose the angle into a scribed edge on the wall, which keeps the hardware standard and the geometry clean. You can make the corner itself at the real angle, with a bespoke post or an adjustable clamp, which keeps the internal space but means the glass edges have to be cut and polished to match. Or you can split the difference with a narrow return panel that takes up the angle on its own, which is often the cheapest and most robust solution in a tight room.
What you should not accept is a quadrant or a curved enclosure sold into a room with non-square corners. A quadrant is a factory shape with a fixed radius and fixed arms, and it has no capacity to absorb an out of square corner at all. If somebody has measured your out of square room and quoted a quadrant, they have measured the widths and ignored the angles, and that is worth challenging before you pay a deposit.
How the panels meet, and why that joint sets the price
The joint between two panels is where the cost of custom glass shower enclosures is really decided. A silicone butt joint, where one panel’s polished edge sits against the face of the next with a bead between them, is the cheapest and visually the slimmest. It is also the least forgiving: it needs both edges square and true, and it relies entirely on the silicone for water, so the bead has to be tooled properly and renewed every few years.
A glass to glass clamp holds the panels mechanically and gives you a fixed angle, so the geometry is set by hardware rather than by the fitter’s hand. It is stronger and it tolerates a little more error. It also puts a point load into the glass at the clamp, so the cut-out has to be made before toughening and the glass has to be thick enough to carry it. A slim vertical post does the same job with more tolerance still, at the cost of a visible aluminium or stainless line in the enclosure.
On a long run there is a fourth consideration: where the joint falls relative to the shower head. A vertical joint directly in the line of spray will be the first thing to show hard water marks and the first thing to leak if the silicone is tired. Putting the joint at the dry end of the enclosure costs nothing on a drawing and saves years of annoyance.
The base an enclosure has to stand on
A custom enclosure is only as good as what it sits on. With a tray, the critical numbers are the upstand height, the level across both axes and the position of the raised lip, because the glass has to land inside the upstand for the water to go where it should. Trays in older London bathrooms are often bedded on a soft or uneven floor and have settled, and a tray that falls 5mm across the enclosure will show as a tapering silicone line on every panel.
With a tiled floor and a kerb, the enclosure is being set out on a surface that is deliberately not flat, because the floor has to fall to the drain. That means the bottom edge of each panel is at a slightly different height relative to the fall, and a bottom channel run level will gap at one end. Full height and wet room work has its own set of problems and we cover those on the wet room screens page rather than repeating them here.
Either way, the enclosure should be drawn after the base is decided, not before. We have surveyed plenty of rooms where the glass had already been ordered off a plan and the tray had then moved 40mm to clear a joist. Nobody wins that argument afterwards.
Where a custom enclosure is the wrong purchase
If your room can take a standard enclosure, buy one. A square corner with plumb walls and a level tray is well served by a decent stock product, and no amount of bespoke glass will make that bathroom work better. Standard London shower screen work is a different market and a far cheaper one.
The second case is more interesting, because it comes up in awkward rooms constantly. If the room is irregular, the honest answer is often fewer panels rather than a cleverer enclosure. A single oversized fixed panel and an open walk-in, with the floor falling the right way and enough dry length, gives you a bathroom with one joint in it instead of five. It is cheaper to make, cheaper to fit, and there is far less to go wrong in ten years. Plenty of people arrive asking for a four panel custom enclosure and leave with a 1,400mm panel and a better bathroom.
The third is a hinged door in a tight irregular room. If the setting out shows the door swing fouling the basin or the WC by 50mm, no amount of custom glass will fix that. Change the layout or change the door type. Door specifics, hinge loading and swing clearance are dealt with properly on the bespoke shower doors page.
What we need before we can draw your enclosure
A drawing for a custom enclosure needs the room, not the dimensions you think describe the room. That means a survey with a laser on each wall, plumb readings at head and foot, a bow check across each run, floor levels at four or more points, the substrate behind the tiling at every fixing position, and the true internal angle at every corner the glass goes near. Pipework, window reveals, sills and boxing all have to be located in three dimensions, because every notch has to exist before the panel is toughened.
From that we produce a dimensioned drawing showing every panel, every joint, the hardware schedule and the fixing substrate for each item. You sign that before anything is cut. All the glass is toughened to BS EN 12150 and is Class A safety glass to BS 6206, which is what the critical locations rules in Approved Document K require in a shower, and it is marked accordingly so an inspector or a future buyer can see it.
We cut, edge and process the glass in our own workshop in Wembley and fit with our own installers, which matters most on enclosure work because the setting out decisions and the person making the panels are not two separate companies arguing over a millimetre. Survey and written fixed quotation are free: 020 4634 6045, Monday to Friday, 8am to 5pm.
FAQ
Questions about custom glass shower enclosures
Can a glass shower enclosure be made for a room with no right angles?
Yes, and it is most of what this workshop does. The angles have to be measured properly rather than assumed, because standard corner hardware only comes in 90 and 135 degree versions. There are three usual solutions: set the enclosure square and absorb the angle in a scribed edge against the wall, make the corner itself at the true angle with bespoke posts or adjustable clamps, or add a narrow return panel that takes up the angle on its own. Which one is right depends on how much internal space you can afford to lose and how visible the corner is.
How many panels should a custom shower enclosure have?
As few as the room allows. Every extra panel adds a joint that has to be sealed, cleaned and eventually resealed, and it adds another place for the setting out error to accumulate. In an irregular room a single oversized fixed panel with an open walk-in often works better than a four panel enclosure, provided the floor falls the right way and there is enough dry length between the shower head and the opening. If a quote proposes more panels than the layout needs, ask what each one is doing.
Do custom glass shower enclosures need thicker glass than standard ones?
Not automatically. Thickness is driven by panel size, how the panel is supported and what hardware loads it, not by whether the job is bespoke. A modest fixed panel held in channel on two edges can be perfectly sound in 8mm, while a tall unsupported panel carrying glass to glass clamps and a door will need more. The questions to ask are what the panel’s free span is, what is holding it at the top, and what point loads the hardware puts into it. Specify from those, not from a brochure.
Send us a photo of the awkward bit
A picture of the slope, the beam or the wall that is causing the problem tells us more than a set of measurements. We template across London.